Edit and Sync Audio

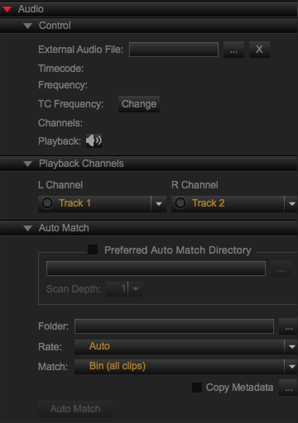
Figure: Edit and Sync Audio
You can control the audio settings and channels by creating an audio tab in a panel. Right-click in the Audio tab and select Audio to populate the audio settings.
The Audio tab allows you to adjust the following settings:
- Control: Sync an R3D file to a WAV or MP3 file.
- Playback Channels: Select a recorded camera audio source or an external audio source.
- Auto Match: Sync an audio file to an R3D file.
For more information, go to REDCINE-X PRO: Audio Sync.
Sync Audio with Auto Match
To sync audio using Auto Match in REDCINE-X PRO, follow the instructions below:
- Import R3D footage into REDCINE-X PRO.
- Double-click an R3D clip to open the clip in the Viewer.
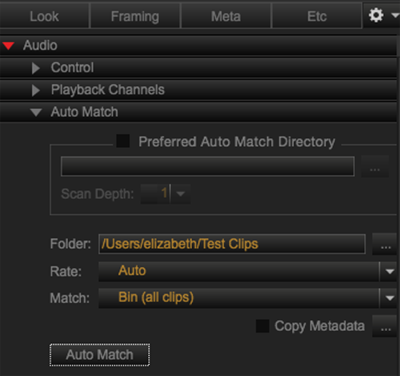
- Go to Audio tab > Auto Match.
NOTE: To add the Audio tab, go to Tabs.
- Select the folder containing the audio files in the Folder drop-down menu.
NOTE: You can set your default directory for Auto Match in Preferred Auto Match Directory.
- Select Auto from the Rate drop-down menu.
- Select Bin (all clips) from the Match drop-down menu.
- Select the folder containing the audio files in the Folder drop-down menu.
- Click Auto Match.
The audio track and video track match when played back.

Figure: Auto Match
NOTE: Before exporting, set your export preset to enable Export Audio and External Audio Tracks.
Sync Audio Manually
To sync audio manually in REDCINE-X PRO, follow the instructions below:
- Import R3D footage into REDCINE-X PRO.
- Double-click an R3D clip to open the clip in the Viewer.
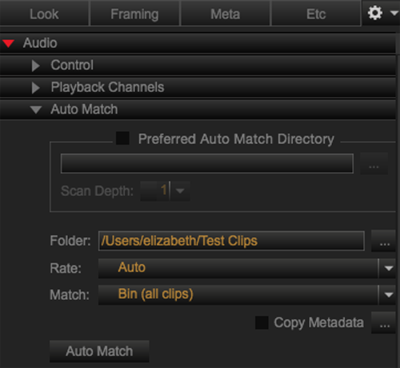
- Go to Audio tab > Auto Match and select the folder containing the audio files in the Folder drop-down menu.
NOTE: To add the Audio tab, go to Tabs.

Figure: Add Audio Files in Audio Match
- Drag the Playhead to the slate frame (clap) in the video track.
- Click
 (Set Video Slate Point) in the Viewer.
 - Go to the Audio tab in the Bottom Panel.
- Select the external audio track that you want to synchronize.
- Drag the Playhead to the slate frame (clap) in the audio track.
- Click
 (Set Video Slate Point) in the Audio tab in the Bottom Panel.
The audio track and video track match when played back.
NOTE: Before exporting, set your export preset to enable Export Audio and External Audio Tracks.